How to Read a Photograph: A Beginner’s Guide to Visual Analysis
Looking at a photograph is not the same as reading one. A glance tells you what a picture is of; a few attentive minutes tell you what it is doing. The pictures that stay with us — the ones we return to, pin above a desk, argue about at dinner — usually reward the second and third look with something the first one missed entirely.
The good news is that visual analysis is not a secret code reserved for people with art history degrees. It is a set of habits, and most of them can be picked up in an afternoon. What follows is a working method: what to notice, in roughly what order, and why each step changes what you see. You do not need equipment. You need one photograph and about five minutes of unhurried attention.
Start with what is literally there
Before interpretation, inventory. This sounds dull and it is the step most people skip, which is why their readings stay vague. Name the contents of the frame out loud, or in a notebook: a table, a kettle, two cups, one chair pushed back at an angle, a window with rain on it, no people.
Only after you have listed things can you notice which of them are strange. That second cup, for instance. Or the fact that the chair is pushed back while both cups are still full. Inventory turns a mood into evidence. It also protects you from the most common beginner's mistake, which is describing an atmosphere ("it feels lonely") without being able to say what produced it.
While you are at it, note the obvious coordinates: indoor or outdoor, day or night, posed or caught, one person or a crowd. These are not insights yet, but they frame every question that follows.
Composition: the architecture of the frame
A photograph is a cut. Everything inside the rectangle was chosen, even if the choosing took a fraction of a second. Composition is the study of that cut, and it starts with the simplest questions: what sits at the centre? What is largest? Where does your eye land first, and where does it go next?
Trace that path deliberately. Many good photographs have an entry point near an edge, a route through the middle, and a resting place that is not where you expected. If your eye keeps sliding off the frame, that is information too — the picture may be deliberately restless.
Then look at depth. A frame with a clear foreground, middle distance and background feels like a room you could step into; a flat frame, with everything pressed against the picture plane, feels more like a poster or a diagram. Both are choices. So is the angle: a high viewpoint tends to make a subject smaller and more observed, a low one larger and more insistent. These are conventions, not laws, but they are conventions for a reason.
Watch the horizon line as well. Placed low, it gives the sky weight. Placed high, it gives the ground weight. Placed dead centre, it can feel either monumental or lazy, depending on everything else in the frame.
The frame is not a window onto the world. It is an argument about what matters.
Light does most of the emotional work
Ask three things about the light: where is it coming from, how hard is it, and what is it doing to the shadows? Front light flattens and clarifies, good for showing a face plainly. Side light reveals texture and splits a subject in two, which is why portraitists love it and why it can feel dramatic. Backlight throws the subject into silhouette, hides detail and turns surfaces into shapes.
Hard light, from a small source like the midday sun or a bare bulb, produces crisp edges and deep shadows. Soft light, from an overcast sky or a large window, wraps around things and forgives. Neither is better. A hard shadow across a face can be an accusation; an even, shadowless face can be a kind of erasure.
Then look for the light's leftovers. Are there reflections in glass? Does a shadow on the wall repeat the shape of something inside the frame? Photographers who work in black and white are especially alert to this, because without colour, shadow and highlight become the entire vocabulary.
The edges, and the world outside them
Amateurs look at the middle. Trained viewers look at the corners, because that is where the decisions show. Is a body cropped at the wrist or at the elbow? Does a hand at the edge of the frame point inward or push you out? A crop just above the eyes can be intimate or violent, depending on what the rest of the picture is doing.
What is not in the frame matters as much. If a photograph shows a child on one side of a wall, the wall's other side becomes the subject whether or not you can see it. Ask what the photographer excluded, and whether the exclusion feels like focus or like concealment.
Context also means where you are seeing the image. A news photograph printed above a caption reads differently than the same print on a gallery wall. A picture in a sequence of twelve is not the same picture alone. Captions, dates, titles and the company a photograph keeps all steer your reading, and it is worth noticing the steering.
Intent, and the limits of guessing it
You will never fully know what a photographer meant. That is fine. Intent is a hypothesis, not a verdict, and you should hold it loosely. What you can do is look for its traces: the vantage point someone had to climb to reach, the timing that required waiting, the subject's awareness of the camera, the tidiness or mess of the surroundings.
A useful distinction: separate the photographer's intention, the subject's intention, and the picture's actual effect. They frequently disagree. Someone may have photographed a street corner as a study in geometry; you may find it unbearably sad. Both readings can be honest, provided you can point to the evidence in the frame that supports yours.
Ask, finally, what the picture wants you to feel — and whether it has earned that feeling. A photograph of suffering, shot and framed carefully, invites sympathy; a photograph of suffering used carelessly invites only a flinch. Learning to tell those apart is most of visual literacy.
A five-minute reading of a single photograph
Use this as a repeatable routine. It works on a phone screen, but it is better with a print or a large monitor.
- Inventory, thirty seconds. List what is in the frame without judging it.
- Squint. Blur your eyes until detail disappears. Note the big light and dark shapes and where the highest contrast sits.
- Follow your eye. Land, travel, rest. Say the path out loud if it helps.
- Check the corners and edges. Look for crops, intrusions, small repeats of shapes and colours.
- Name the light. Direction, quality, source. Then say what the light is doing to the mood.
- Ask what is missing. What did the frame leave out, and does that absence feel deliberate?
- Write two sentences. One about what the picture appears to be about, one about how it made you feel. If they contradict each other, you have found something worth looking at again.
Practice, and a small notebook
Reading photographs is a skill built by repetition, not by reading about it. Pick one image and stay with it for three days rather than looking at thirty for ten seconds each. Print a photograph you think you know well, pin it near where you drink your coffee, and see how long it takes before you notice something you had never seen.
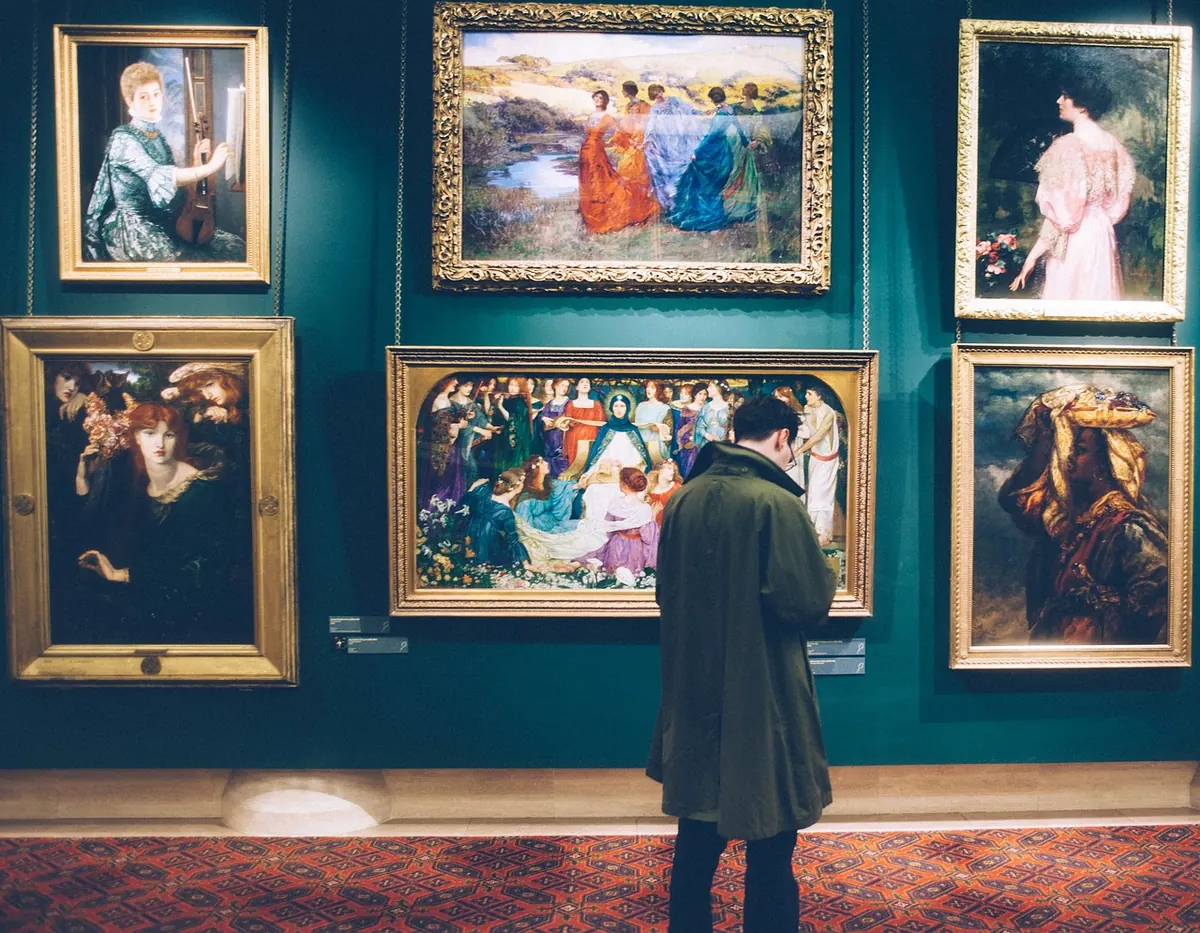
Visit a small gallery or a library show and stand in front of one picture for longer than feels polite. Write one sentence about it afterwards, no more. Over a few months those sentences become a record of your own eye, and the record is more useful than any verdict from someone else.
You will misread photographs. Everyone does, including the people who made them, who are often the last to know what they caught. Being specific matters more than being right. Say what you see, say why you think so, and stay willing to be surprised by the next look.
Photo: StockSnap / Pixabay
You Might Also Like
A practical look at when the phone in your pocket beats the camera in your bag for daily visual storytelling — and when it quietly falls short.
Street posters are the least curated layer of a city’s visual life — a record of who speaks, how loudly, in what typeface, and to whom.